本文概述
在Nginx中实施Let’s Encrypt TLS证书的分步指南。
使用TLS证书保护网站至关重要。主要有两个原因:
- 在用户设备与SSL / TLS卸载设备之间进行安全的数据传输
- 改善Google搜索排名
最近, 谷歌宣布在Chrome浏览器中将不带https://的网站标记为”不安全”。
所以, 对HTTPS说”是”。
如果你经营的是博客, 个人网站, 非会员身份, 非金融交易网站, 则可以申请Let’s Encrypt证书。
让我们加密提供免费证书。
但是, 如果你接受金融交易, 那么你可能需要申请商业证明。
让我们在Nginx中实现TLS …
如果不参考本安装指南, 我假设你已经安装并正在运行Nginx。
有多种方法可以完成此任务。
让我们使用Certbot进行加密
最简单和推荐的安装方法之一。
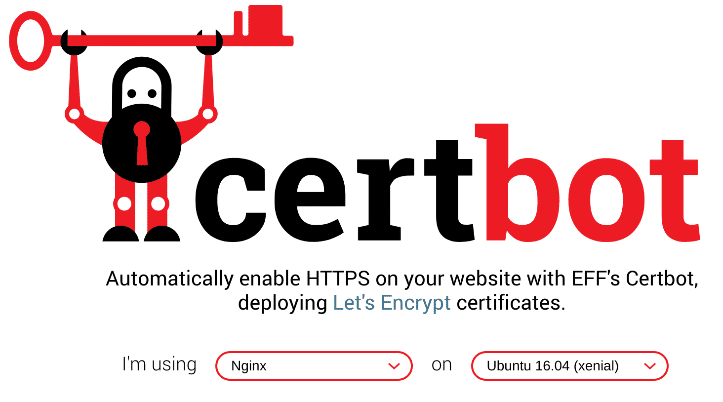
Certbot提供了一个下拉菜单, 你可以在其中选择Web服务器和OS以获得说明。
如下图所示, 我选择了Nginx和Ubuntu。
并且, 我将在Nginx服务器上执行以下操作以安装certbot插件。
# apt-get install software-properties-common
# add-apt-repository ppa:certbot/certbot
# apt-get update
# apt-get install python-certbot-nginx
一切正常之后, 是时候使用certbot插件在Nginx中安装证书了。
你可以使用以下命令, 该命令将负责修改必要的文件以配置证书。
# certbot --nginx它将检查现有Nginx配置文件中的CN(通用名称), 但找不到它, 然后提示你输入。
例如:
[email protected]:/etc/nginx/sites-available# certbot --nginx
Saving debug log to /var/log/letsencrypt/letsencrypt.log
Plugins selected: Authenticator nginx, Installer nginx
Starting new HTTPS connection (1): acme-v01.api.letsencrypt.org
No names were found in your configuration files. Please enter in your domain
name(s) (comma and/or space separated)  (Enter 'c' to cancel): bloggerflare.com
Obtaining a new certificate
Performing the following challenges:
http-01 challenge for bloggerflare.com
Waiting for verification...
Cleaning up challenges
Deployed Certificate to VirtualHost /etc/nginx/sites-enabled/default for bloggerflare.com
Please choose whether or not to redirect HTTP traffic to HTTPS, removing HTTP access.
-------------------------------------------------------------------------------
1: No redirect - Make no further changes to the webserver configuration.
2: Redirect - Make all requests redirect to secure HTTPS access. Choose this for
new sites, or if you're confident your site works on HTTPS. You can undo this
change by editing your web server's configuration.
-------------------------------------------------------------------------------
Select the appropriate number [1-2] then [enter] (press 'c' to cancel): 2
Redirecting all traffic on port 80 to ssl in /etc/nginx/sites-enabled/default
-------------------------------------------------------------------------------
Congratulations! You have successfully enabled https://bloggerflare.com
You should test your configuration at:
https://www.ssllabs.com/ssltest/analyze.html?d=bloggerflare.com
-------------------------------------------------------------------------------
IMPORTANT NOTES:
 - Congratulations! Your certificate and chain have been saved at:
   /etc/letsencrypt/live/bloggerflare.com/fullchain.pem
   Your key file has been saved at:
   /etc/letsencrypt/live/bloggerflare.com/privkey.pem
   Your cert will expire on 2018-05-27. To obtain a new or tweaked
   version of this certificate in the future, simply run certbot again
   with the "certonly" option. To non-interactively renew *all* of
   your certificates, run "certbot renew"
 - If you like Certbot, please consider supporting our work by:
   Donating to ISRG / Let's Encrypt:   https://letsencrypt.org/donate
   Donating to EFF:                    https://eff.org/donate-le
[email protected]:/etc/nginx/sites-available#
Certbot自动化很智能!
如你所见, 它已经完成了所有必要的配置, 使我的Nginx可以通过https服务。
但是, 如果你不希望Certbot为你修改配置, 则只需请求以下命令即可。
# certbot --nginx certonly上面的命令将不会执行任何修改, 而是仅向你提供证书, 以便你可以配置所需的方式。
但是, 如果你不能或不想使用Certbot怎么办?
手动程序
有多种方法可以获取Let’s Encrypt颁发的证书, 但是推荐的一种方法是使用免费在线SSL工具。
提供你的URL并继续进行验证方法。验证后, 你将获得证书, 私钥和CA。

下载它们, 然后传输到Nginx服务器。让我们将其保留在Nginx安装路径的ssl文件夹下(如果不存在则创建)
[email protected]:/etc/nginx/ssl# ls -ltr
-rw-r--r-- 1 root root 1704 Feb 26 10:04 private.key
-rw-r--r-- 1 root root 1647 Feb 26 10:04 ca_bundle.crt
-rw-r--r-- 1 root root 3478 Feb 26 10:57 certificate.crt
[email protected]:/etc/nginx/ssl#
在进行配置修改之前, 你需要将certificate.crt和ca_bundle.crt连接到一个文件中。我们将其命名为tlscert.crt
cat certificate.crt ca_bundle.crt >> tlscert.crt- 转到站点可用文件夹, 然后在相应的站点配置文件中添加以下内容
server {
listen 443;
ssl on;
ssl_certificate /etc/nginx/ssl/tlscert.crt;
ssl_certificate_key /etc/nginx/ssl/private.key;
}- 重新启动Nginx
service nginx restart尝试通过HTTPS访问相应的域

因此, 你可以成功了!
接下来, 你可能要测试你的站点的SSL / TLS漏洞, 并在发现漏洞时对其进行修复。
我希望这可以帮助你。如果你有兴趣学习Nginx, 那么我建议你参加此在线课程。


